

Last Updated on November 2, 2026
My best friend just moved into her first solo apartment. She had the sofa, the rugs, and the paint perfectly sorted out. But when I went over for a coffee last month, she sighed and said, “It still feels a bit like a showroom, doesn’t it? It just doesn’t feel alive.”
I knew exactly what she meant. Sometimes, making a house feel like a home isn’t about buying more stuff. It’s about finding that one statement piece that has a soul.
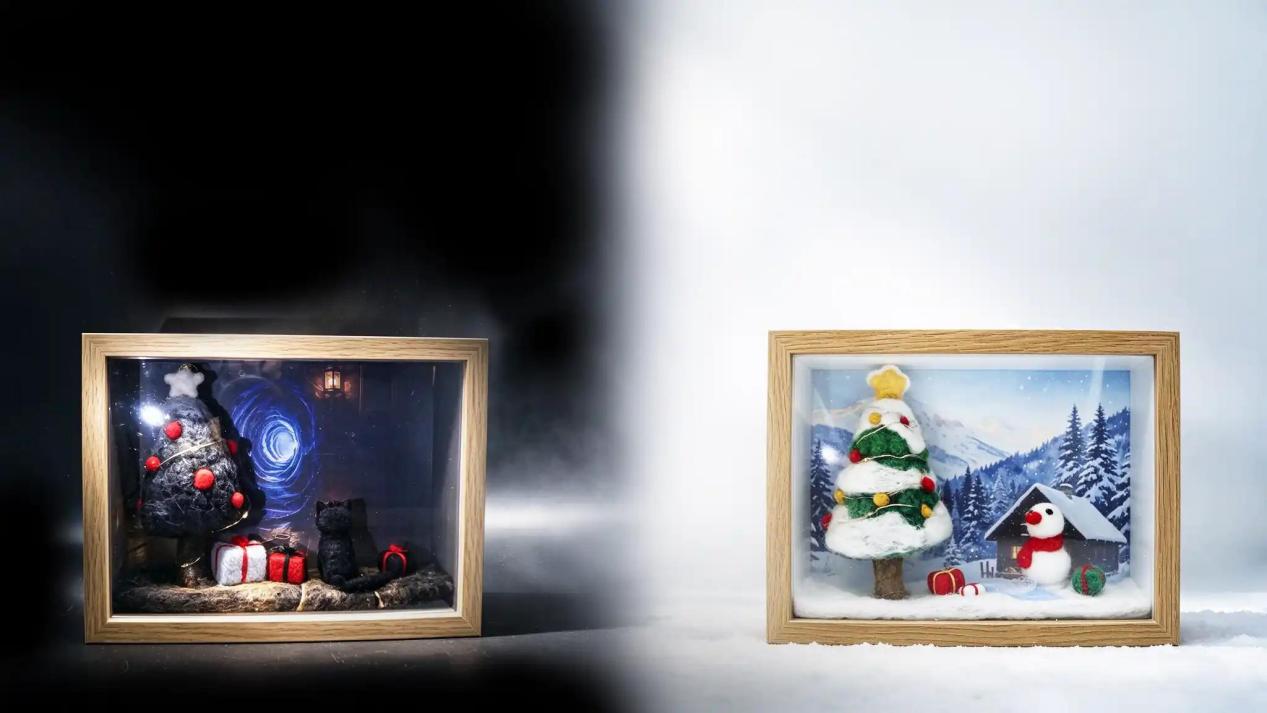
With Christmas around the corner, I decided to skip the mall entirely and make her a 3D light-up shadow box. I wanted something miniature, nostalgic, and something that literally brought warmth into her dark living room. I ended up making two—one snowy fairy-tale scene and one moodier, midnight scene with a black cat. She loved them both.
Here is exactly how I made them, and how you can build your own tiny, glowing world this weekend.
Why We Love Tiny Things
I don’t know about you, but I’m a bit tired of mass-produced decorations that look exactly the same in every house. There is something so grounding about making art with your own hands.
I think we are naturally drawn to miniature worlds because they offer a sense of cozy control. Inside a shadow box, you build a complete narrative. You get to decide where the snow falls, where the cat sits, and how soft the light is. It’s a little story captured in a frame. And the best part? You don’t need a studio or fancy tools to do it.
Gathering Your Tools (Don’t Overthink It)
I’m a big believer in using what you have. When I started, half of my materials were literally sitting in my recycling bin.
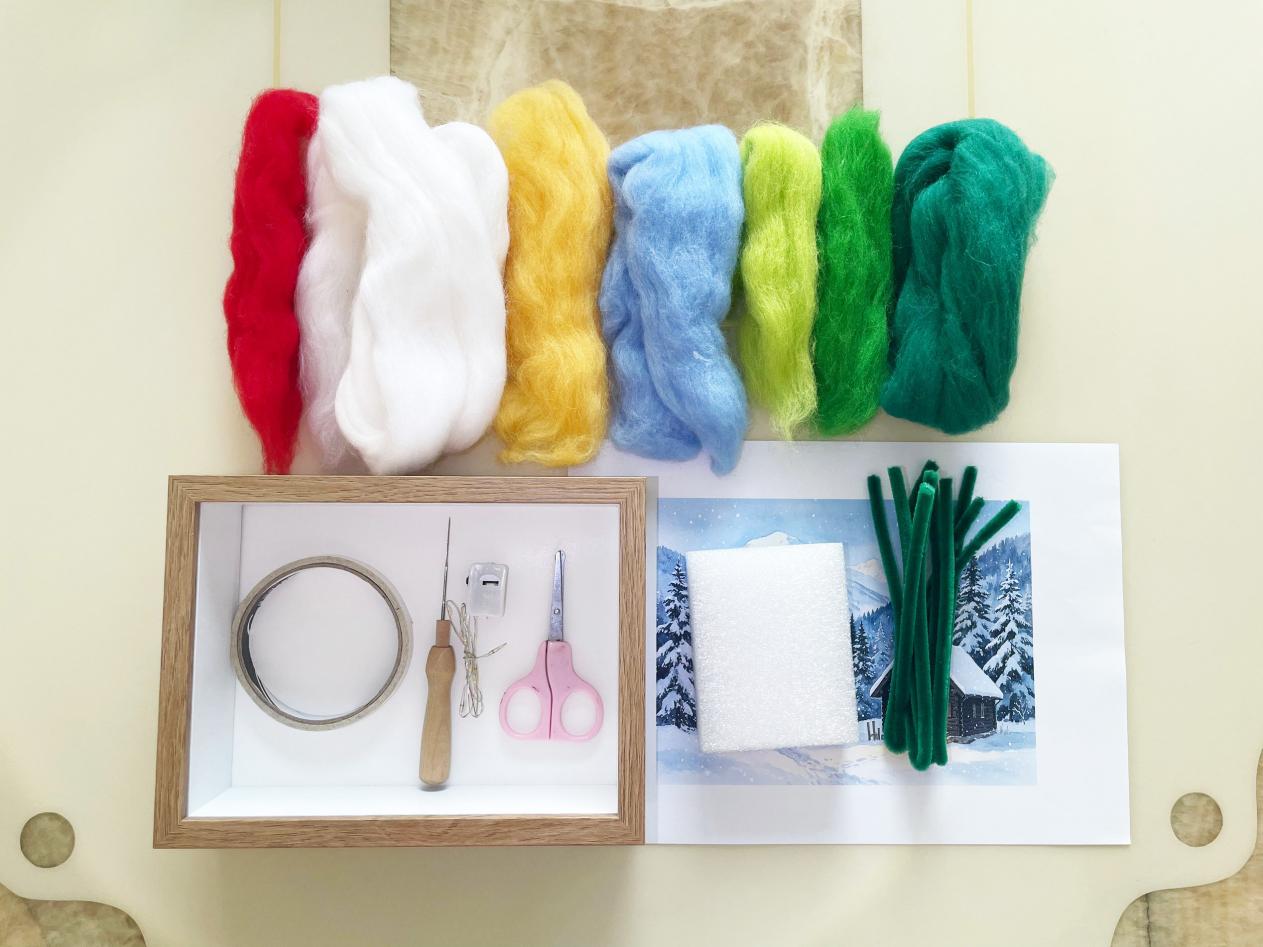
A shadow box frame: Mine is about 22 x 17 x 6.5 cm. If you don’t want to buy one, a sturdy cardboard box with a wide side cut out works perfectly.
Wool roving: I used greens, whites, and blacks for the main scenes, plus a pop of red for berries and tiny gifts.
Pipe cleaners: These are my secret weapon for creating the structure of the tree trunk and the cat’s body.
A printed background: I designed mine digitally, but you can use a printed photo, a piece of scrapbook paper, or even paint a piece of cardboard.
Battery-operated LED string lights: Keep the wire thin and flexible.
Needle felting supplies: A felting needle and a foam pad.
If this is your first time needle felting, don’t worry about getting all the fancy tools right away. In fact, if you fall in love with the process and want to explore what else you can create with those leftover wool rovings, I’ve actually compiled a list of 20+ creative needle felting project ideas on my blog, ranging from simple home decor to cute little gifts.
Building the Foundation
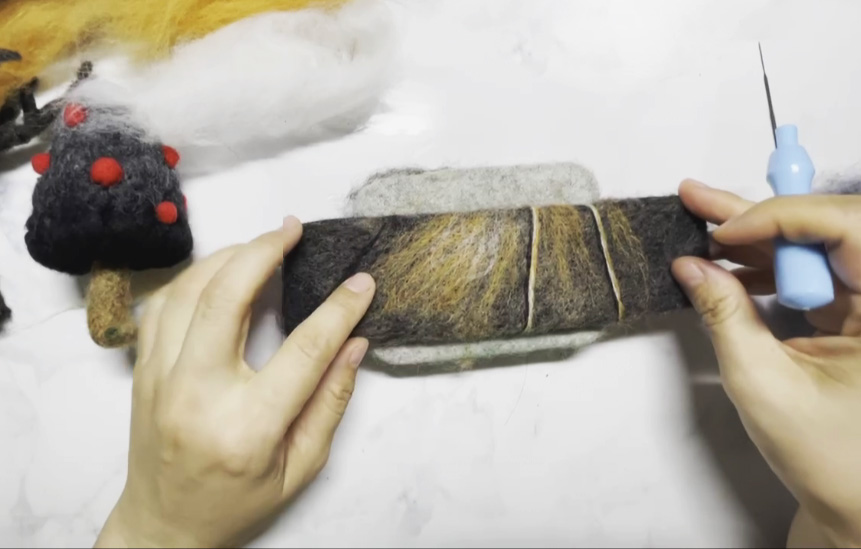
Don’t rush the floor! It grounds the whole scene. I needle-felted mine entirely by hand, one poke at a time. Honestly, stabbing the wool repeatedly after a long day at work is surprisingly stress-relieving.
Start with a basic wool base, shaping it to fit the bottom of your frame.
For the snowy version, I just layered white wool and blended in some light blue to look like a frozen river. For the dark version, I layered black, brown, and white wool to create a textured, uneven surface—almost like old wooden floorboards. Try to match the angle of your floor to the perspective in your background picture, and the scene will look continuous.
Sculpting Your Tree
This is where the needle felting magic really happens.
Start by twisting two or three pipe cleaners together. This gives your tree an actual skeleton, so it won’t flop over when you look at it.
For the green tree, I wrapped green wool around the trunk and blended it so it got lighter towards the top. If you only have one shade of green, don’t stress—it still looks great. I then added little wisps of white wool on top for snow. For the black tree, I used a gradient: dark black at the bottom, fading to gray in the middle, and white at the top. I finished it by rolling tiny red wool balls and poking them in as ornaments.
Adding the Little Details (The Fun Part)
This is where your personality shines. For the fairy-tale box, I made a tiny snowman out of white wool, gave him a red scarf, and placed him next to a little wooden cabin.
For the dark scene, I used a pipe cleaner and black wool to shape a small sitting cat. The rounded back and pointy ears add such a quiet, watchful presence to the room.
If this is your first time, please don’t stress about perfection. I actually think a slightly lopsided snowman or a cat with one ear higher than the other makes the piece so much better. It proves it was handmade with love, not bought from a factory.
Weaving in the Light
This step transforms the box from a diorama into a piece of magic.
Take your LED string lights and gently wrap them around the tree. Start from the top and work your way down. When you reach the bottom, leave a little bit of the wire free so you can easily hide the battery box behind the frame.
For the snowy tree, tuck the bulbs deep into the white branches so the glow feels soft and diffused. For the black tree, let the lights peek through, creating warm points of light that look incredible against the dark background.
Once everything is secured and the acrylic panel is back on, turn off your room lights. Take a moment to check the glow from different angles. Sometimes moving a tiny gift box an inch to the left makes all the difference.
The Quiet Joy of Slow Crafting
There is something deeply satisfying about building a scene from scratch. It’s slow work. It requires patience. But that is exactly what makes it feel so special.
In a world that moves way too fast, sitting down to poke wool into a tiny, glowing landscape is a form of quiet rebellion.
Whether you make one for your own living room or give it to a friend who needs a little warmth this season, I hope this project brings a smile to your face.
About the Author
Amy Sun is an artisan and the founder of diyfelting.com. Embracing the meditative joy of slow crafting, she transforms plain wool into whimsical miniature worlds. Through her online shop, she shares her handmade creations and provides beginner-friendly needle felting kits, alongside step-by-step tutorials to help others start their crafting journey from scratch.


