
Last Updated on May 2, 2024
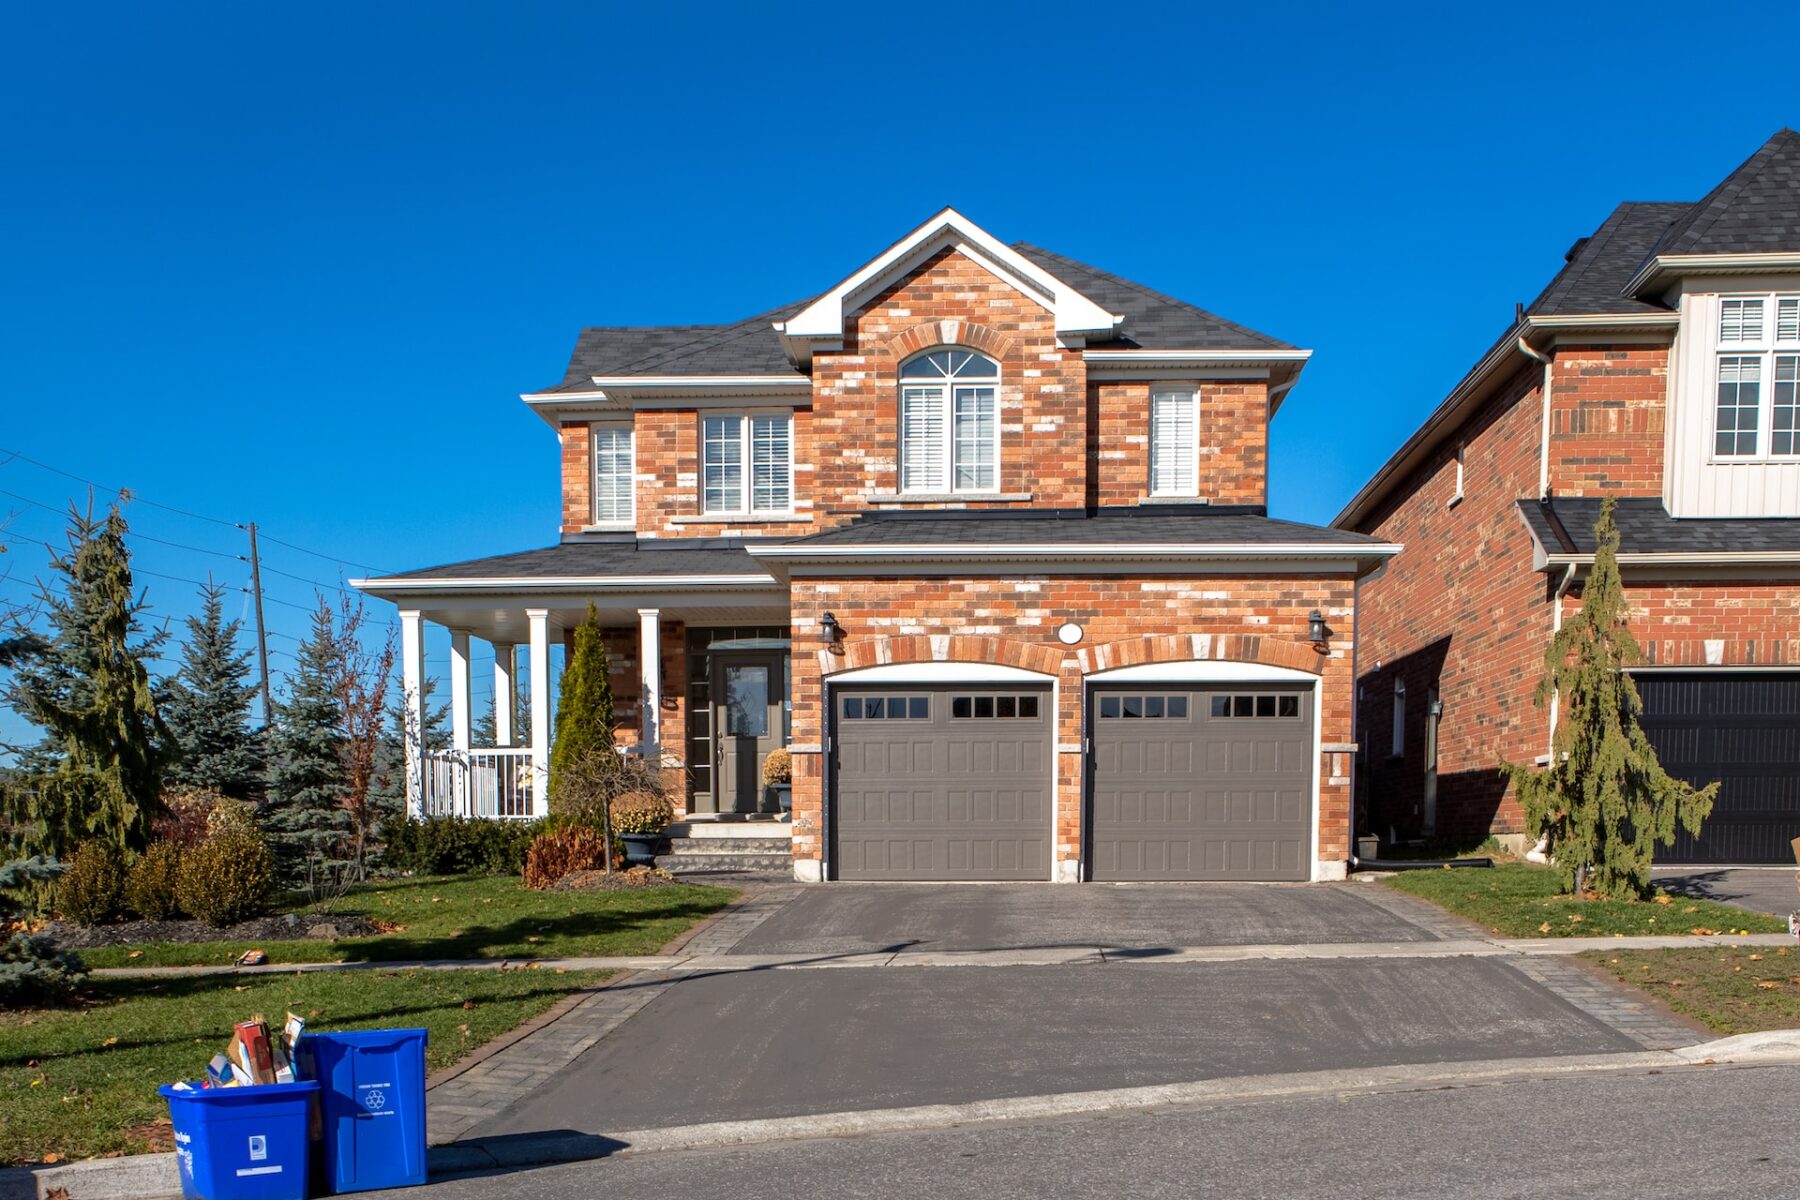
When people come to your home, your driveway is the first thing they will see, and a great-looking driveway sets the tone for the rest of your property. An exceptionally well-maintained driveway and parking area add value to your home by enhancing curb appeal. For people who take pride in their homes, the driveway is one area that needs to look its best.
There are several types of driveways, and each has different maintenance requirements. Some types of driveways require more maintenance than others, but they all need a bit of TLC. Here are the most common types of driveways and methods for keeping them looking top-notch.
Gravel Driveways
Many people choose gravel driveways because they are one of the least expensive options. However, gravel driveways require more maintenance than other types of driveways. Nevertheless, you can keep them looking good by keeping them smooth, adding borders, and ensuring they drain correctly.
You should invest in a few good tools to take care of a gravel driveway. First, you’ll need a rugged landscape rake to smooth out small dips. If you have a long driveway or a large parking area, you should invest in a pull behind driveway grader, which you can pull with your riding lawn mower or an ATV. It will make light work of keeping your driveway smooth and eliminating weeds throughout the year.
Over time, gravel is thrown off the road or sinks into the ground, so you should add fresh gravel to your driveway every two to three years.
Asphalt Driveways
Asphalt is another affordable material that is popular because of its price. To maintain the appearance of your asphalt driveway, you should keep it clean, repair cracks immediately, and apply a seal coat every few years.
Regularly sweeping your asphalt driveway to remove branches, leaves, and dirt will keep debris from accumulating. In the spring and fall, remove built-up grime and dirt with a power washer. If waste is allowed to collect on the surface of your driveway, it can lead to puddles and cracks. In addition, any water that seeps in will erode the foundation of your driveway, especially during the winter, because it will expand when it freezes.
After you wash your driveway thoroughly, inspect it for cracks and repair them immediately. Oil will deteriorate asphalt, so use a latex product like Latex-ite filler and sealer. It comes in various colors to match the asphalt in your driveway.
Every few years, you should seal coat your asphalt driveway. It will protect the pavement and maximize your curb appeal.
Concrete Driveways
One of the reasons why people choose concrete driveways is that they are long-lasting and require little maintenance. But even concrete needs your attention to keep looking its finest.
Concrete driveways are maintained the same as asphalt driveways. Therefore, you should keep them clean and fix concrete cracks immediately. For cracks less than a quarter inch, use masonry crack filler, available in tubes or bottles. If you have larger cracks than that, they signal a more serious problem, and you should contact a professional.
You can remove many stains with detergents and a little bit of scrubbing to keep your driveway looking good. Concrete can also be painted, stained, and sealed. Applying a sealant designed for concrete every few years will help protect it from normal wear and tear.
Be sure to trim shrubs and trees close to your concrete driveway. If you don’t keep them trimmed back, excess root growth can cause damage.
Brick or Paver Driveways
All hard surface driveways, including brick, paver, concrete, or asphalt, can benefit from regular cleanings. As with concrete and asphalt, using a power washer to remove built-up grime and dirt can improve the appearance of your driveway. You can also use detergents on a brick and paver driveway to scrub out stubborn stains.
One of the biggest dangers with brick and paver driveways is weeds. Weeds can destroy more than just the looks of a brick or paver driveway. Here are a few good options to keep your driveway weed-free.
- Hand weeding– while this is a lot of work, using an edging tool can make it easier.
- Polymeric sand– hardens like concrete so weeds can’t get a foothold.
- Spraying with herbicides– if you’re comfortable using chemicals.
- Flamethrower– while these won’t work on large weeds, they will quickly zap seedlings.
- Sweeper– with this type of driveway, investing in a walk-behind sweeper is a good idea.
You should combine these methods to achieve desired results. Besides that, your brick or paver driveway will look beautiful for many years without much effort or upkeep.
And keep in mind, if you need to get rid of your existing driveway to make space for a new one, consider hiring a demolition contractor to clear the way.
Invest in Your Driveway
No matter what type of driveway you have, regular maintenance is the key to keeping it looking its best. Investing in the right tools and materials will ensure that your driveway will look great for years.