
Last Updated on October 19, 2023
Have you ever wanted to make your kitchen look better without spending a ton of money? Well, there’s a simple and affordable way to do it – by painting your kitchen cabinets! Your kitchen is a special place where you cook, eat, and spend time with your family. It should feel cozy and look nice.
Imagine if you could change the way your kitchen looks without having to redo everything. That’s where painting your kitchen cabinets comes in. It’s like giving your kitchen a makeover by using paint instead of buying all new stuff.
In this article, we’re going to talk about the latest trends and techniques for painting kitchen cabinets. Whether you’re a painting pro or just starting, we’ll help you make your kitchen look awesome. So, let’s get started and learn how to make your kitchen look great with paint!
Current Trends in Kitchen Cabinet Painting
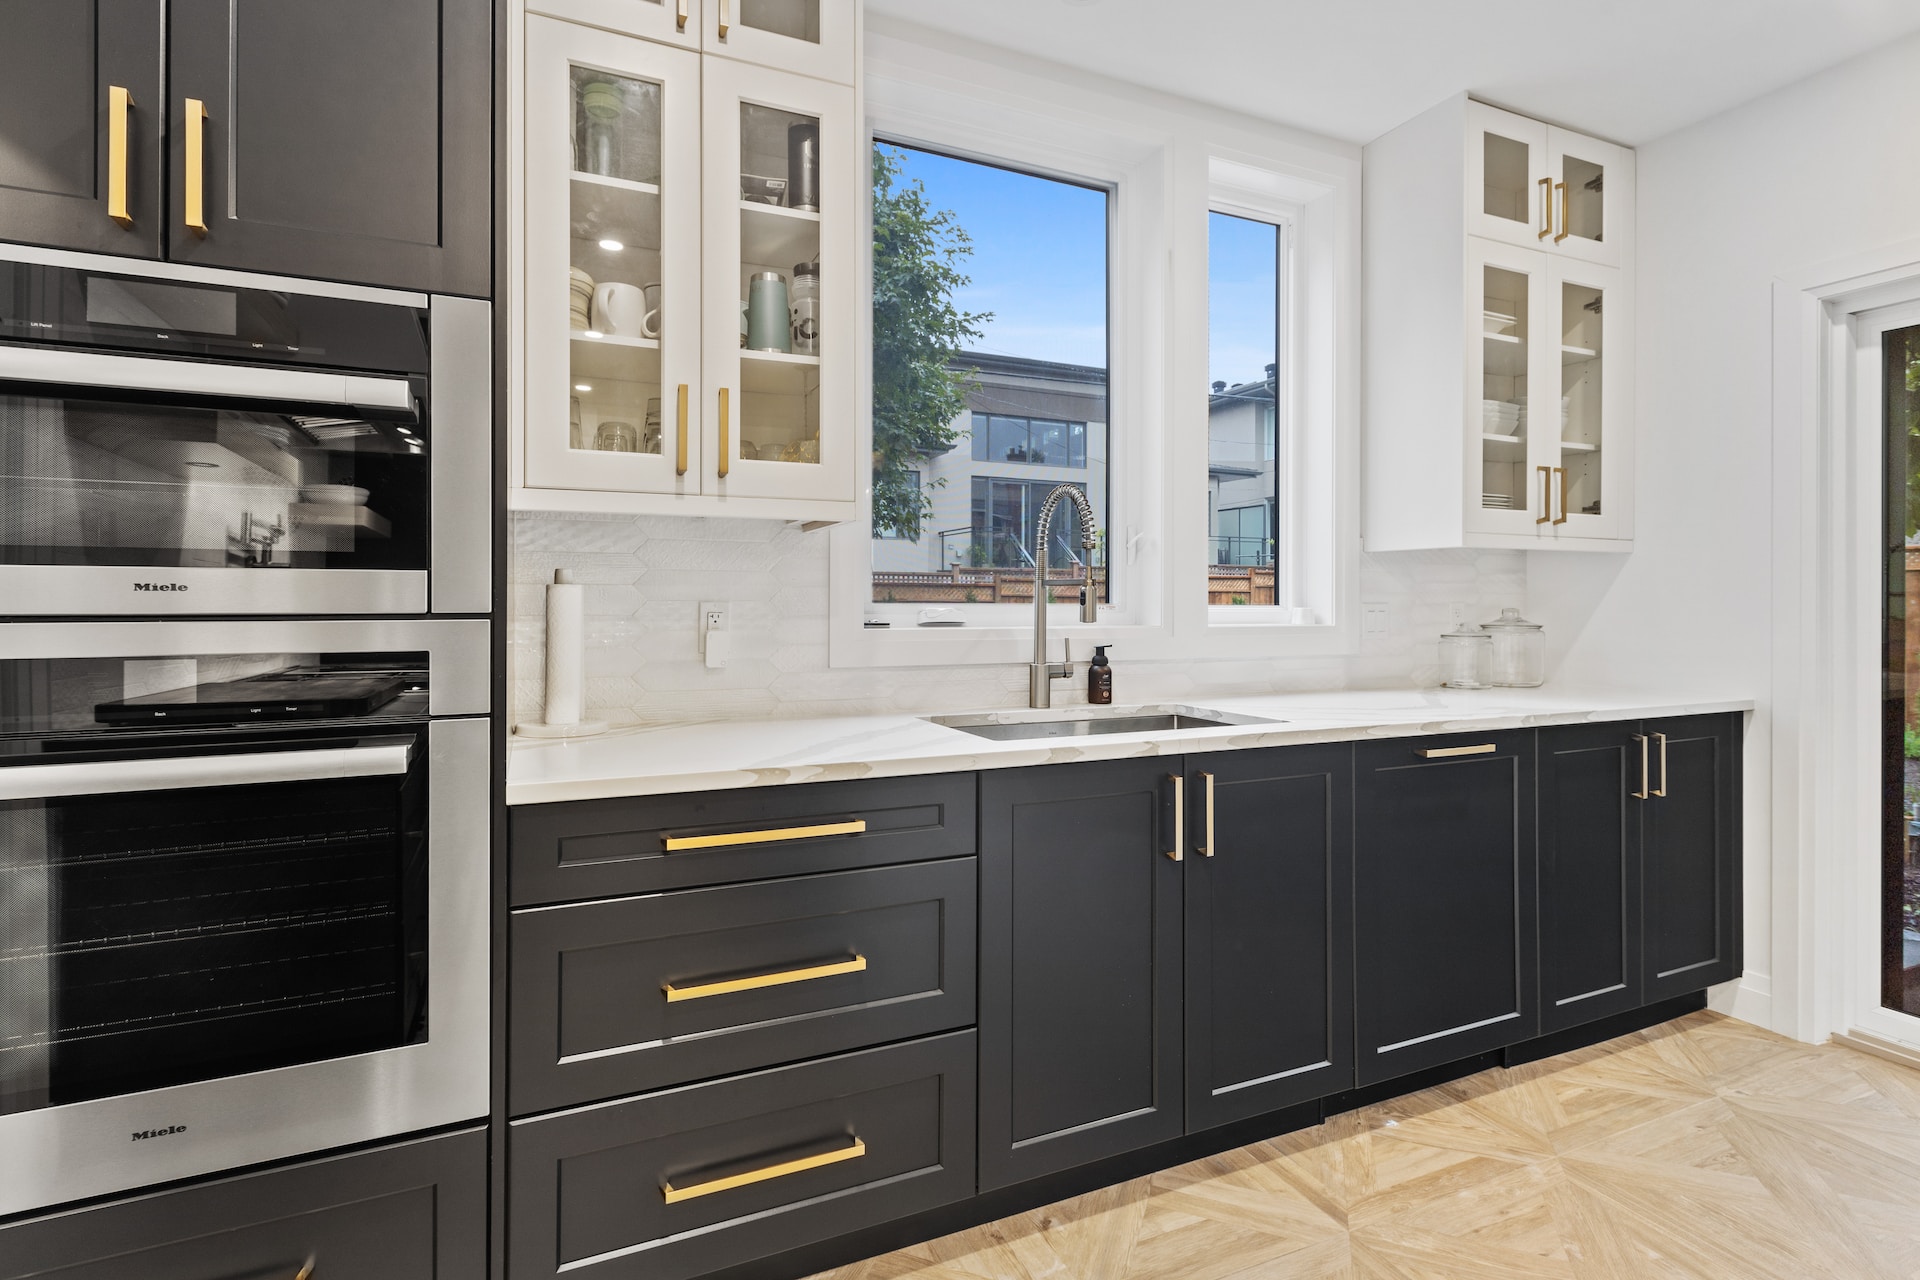
- Latest Color Trends: People are now trying new cabinet colors, like deep blues and vibrant greens, to give kitchens a fresh look.
- Popular Styles and Finishes: You can choose between matte (no shine), glossy (super shiny), or even two-tone cabinets for a modern twist.
- Bold and Pastel Colors: If you’re feeling adventurous, you can pick bold and bright colors like red or soft, calming pastels like pale blue.
- Eco-Friendly Paint: Some people are using eco-friendly paint, which is better for the environment because it has fewer harmful chemicals. It’s a way to make your kitchen look great while being kind to the planet.
So, whether you like bold or calming colors, shiny or not-so-shiny cabinets, there are many fun choices to make your kitchen special and eco-friendly!
Painting Techniques
When it comes to painting your kitchen cabinets, the technique you use can make a big difference in the final result. Let’s explore the various painting techniques and understand why they matter.
- Preparation Matters: Cleaning and sanding are essential before painting to ensure a smooth, long-lasting finish.
- Different Painting Techniques: You can use a brush, roller, or spray. Brushes are precise, rollers are quick, and spray gives a pro look.
- Pros and Cons: Each technique has its benefits and drawbacks. Brushes are detailed but may leave strokes. Rollers are fast but can’t reach tight spots. Spraying is smooth but needs careful setup.
Step-by-Step DIY Project:
- Gather materials: Paint, brushes, rollers, or a spray gun, sandpaper, cleaning supplies, and safety gear.
- Remove hardware: Take off knobs and handles.
- Clean and sand: Make cabinets clean and smooth.
- Prime: Apply a primer for better paint adhesion.
- Paint: Use your chosen technique.
- Dry and repeat: Apply a second coat after the first dries.
- Reattach hardware: Put back knobs and handles.
- Admire your work: Enjoy your beautifully painted cabinets!
With the right technique and proper preparation, you can achieve fantastic results in your DIY cabinet painting project.
Choosing the Right Paint
Picking the right paint for your kitchen cabinets is important because it affects how they’ll look and how long the paint will last. Let’s talk about three types of paint and what’s good and not-so-good about each.
Oil-Based Paint: This kind of paint is strong and can handle lots of use. It gives a smooth finish and can resist stains and water. But it takes a long time to dry, smells strong, and needs special stuff to clean it.
Water-Based Paint: This paint is more modern and eco-friendly. It dries faster, doesn’t smell as much, and is easy to clean with water. However, it may not be as tough as oil-based paint, so you might need more coats.
Chalk Paint: Chalk paint is trendy and gives a matte finish. It’s great if you want a vintage or shabby-chic look. You don’t need to do a lot of sanding or priming, but it might not last as long as other paints.
When you choose to paint, think about what you want your cabinets to look like and how much they’ll be used. The right paint will make your kitchen look great and last a long time.
Tips for a Successful Cabinet Painting Project
For a successful cabinet painting project and to avoid common mistakes like drips and streaks, you need to be prepared.
First, make sure your cabinets are clean and smooth by cleaning and sanding them. Use good-quality paint and tools and choose a technique that works best for you, like a brush or roller.
Practice on something else first to get the hang of it. Be patient, apply thin coats, and start with the inside of the cabinets and frames before doing the outside.
Don’t put too much paint on your brush or roller, keep the pressure steady, and watch for drips or streaks while the paint is still wet. Let each coat dry completely before adding another.
Following these steps will help your cabinets look great and fresh.
Maintenance and Care
To keep your freshly painted cabinets looking nice, you need to take care of them. Clean them regularly with a mild, soapy solution, and be gentle when wiping off spills. Don’t use tough cleaners or scrub too hard.
Protect the cabinets from too much water and sunlight, and be careful not to slam the doors. If you notice any damage, like chips or peeling paint, fix it with touch-up paint.
You can also add liners and felt pads inside the cabinets to prevent scratches. Taking these steps will help your cabinets stay in great shape and look fresh.
Conclusion
To sum it up, painting your kitchen cabinets is a wonderful way to give your kitchen a fresh look without spending a lot.
We’ve learned about the latest trends and techniques, the right paint to choose, and how to avoid common mistakes. Now, it’s your turn to get creative and make your kitchen amazing. Whether you like bold colors, a smooth finish, or eco-friendly options, there’s something for everyone.
With a little patience and care, your newly painted cabinets will make your kitchen look great for a long time. So, don’t hesitate, and start your cabinet painting adventure!