
Last Updated on May 28, 2026
When winter storms arrive in force, roofs bear the weight — literally — of everything the season delivers. Snow accumulation, ice dams, freeze-thaw cycles, and the sustained cold that tests flashing, sealants, and shingles create conditions that expose any existing vulnerability in a roof system. Understanding how winter storms damage roofs, what to look for after a storm, and how to navigate the repair process puts you in a far better position to protect your home and manage the aftermath effectively.
How Winter Weather Damages Roofs
Winter roof damage takes several distinct forms, each with its own mechanism and typical impact. Understanding which type of damage you’re dealing with guides the appropriate repair approach and helps you communicate clearly with roofing contractors about what’s needed.
Snow Load Stress
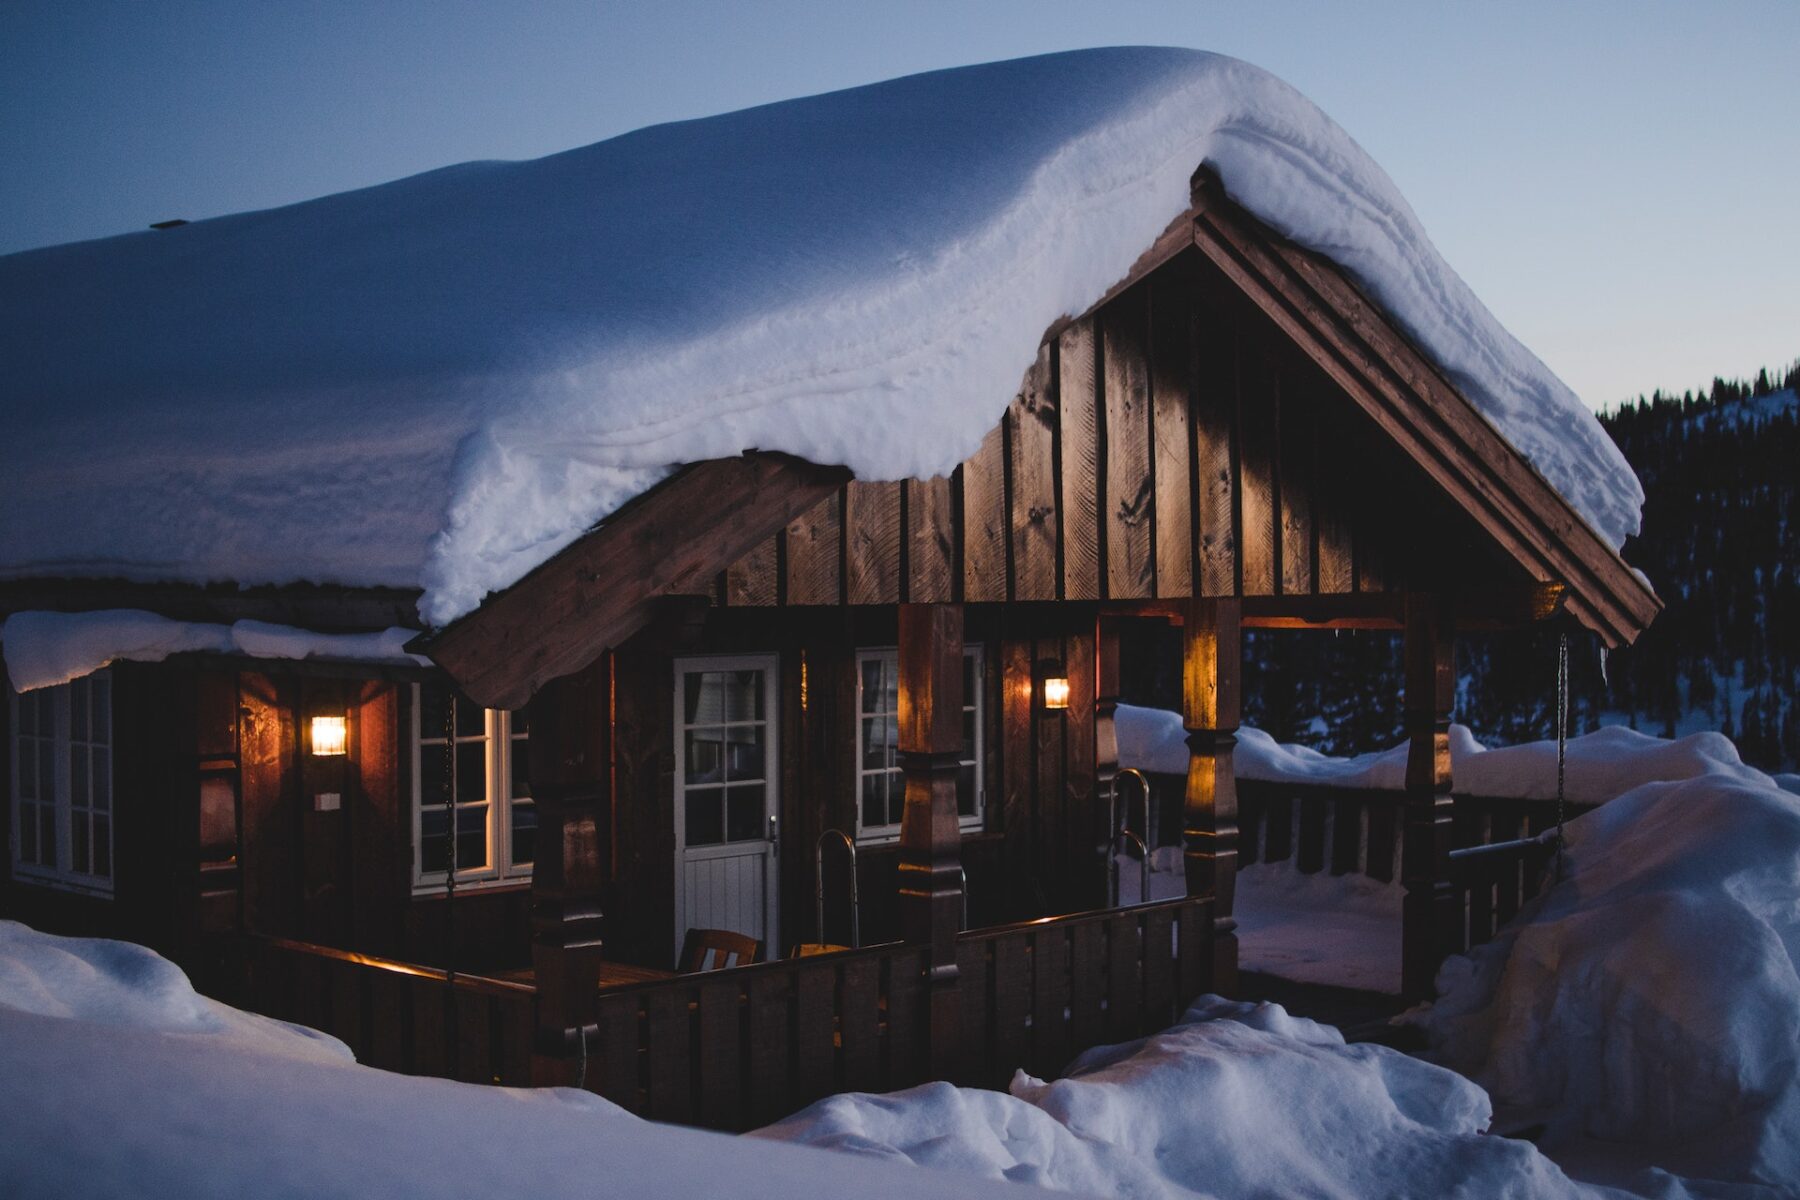
Fresh snow weighs approximately 5-20 pounds per square foot depending on moisture content. The wet, heavy snow common in temperatures just below freezing can weigh twice as much as dry powder. Roof structures are designed to handle certain loads, and most residential roofs in snow country are engineered with local snow load requirements in mind. But extreme storms can produce accumulations that test or exceed those design loads, particularly when multiple snowfalls occur without adequate melt between them.
Snow load damage manifests as stressed rafters, sagging decking, and in serious cases, partial or full structural failure. More commonly, excessive snow load causes existing small vulnerabilities — slightly loose flashing, marginally adequate sealant, minor gaps in roofing material overlap — to become active leak points as the weight compresses the roof system and water from partial melting seeks any available path.
Ice Dam Formation
Ice dams are one of the most common and consequential forms of winter roof damage, and understanding how they form is key to both preventing them and addressing them correctly when they occur. The process begins with heat escaping through the roof deck and warming the roof surface above the insulated space. This warmth melts snow from the underside, and meltwater runs down the roof slope toward the eaves — which are not warmed by interior heat loss and remain at ambient outdoor temperature.
At the cold eaves, the meltwater refreezes, building an ice ridge. As this ridge grows, it dams further meltwater flowing down from above, creating a pool of liquid water behind the dam. This water, unable to run off the roof normally, finds its way under shingles, through flashing gaps, and into the roof assembly — causing damage to decking, insulation, and eventually the ceiling below. Ice dam damage is often not immediately visible from the interior, as water can travel through the wall cavity before appearing as a stain on a ceiling or wall at some distance from the actual entry point.
Wind and Storm Damage
High winds accompanying winter storms can lift, curl, and tear shingles from the roof — particularly shingles that were already compromised by age, inadequate nailing, or previous weather damage. Wind-driven rain or blowing snow gets under lifted shingles and enters the roof assembly. Missing shingles or sections of shingle create immediate vulnerability to water intrusion that worsens with each subsequent weather event.
Flashing — the metal trim pieces that seal the joints between the roof surface and penetrations like chimneys, vents, and skylights, as well as roof-to-wall transitions — is particularly vulnerable to winter storm damage. Thermal movement as temperatures swing dramatically, combined with wind loading and the weight of ice and snow, can break the sealants around flashing and lift or separate flashing from its intended position. Flashing failures are among the most common sources of winter-related roof leaks.
Freeze-Thaw Cycling
Even without a significant storm event, the repeated cycling of temperatures above and below freezing that characterizes winter in many regions causes cumulative damage to roofing materials. Water entering minor cracks and gaps freezes, expands, and forces the crack open further. The next thaw cycle allows water deeper into the widened gap before it refreezes again. Over the course of a winter, this process can significantly worsen roof vulnerabilities that would otherwise have been minor maintenance items.
Post-Storm Assessment: What to Look For
After any significant winter storm, a careful inspection of your roof and related systems is worthwhile — ideally from the safety of the ground using binoculars or from a safely positioned ladder that allows you to see the roof surface without going onto the roof itself. Winter roofs are dangerous surfaces for the uninitiated: snow and ice create fall hazards, and the cold, wet conditions make falls more likely and more serious. Leave actual on-roof inspection to professionals with appropriate safety equipment and training.
From the ground or a window with a good angle on the roof, look for obvious signs of damage: missing, curled, or displaced shingles; visible gaps or holes; sagging sections that suggest structural stress; and ice dams at the eaves that indicate active freeze-thaw conditions. Gutters that have pulled away from the fascia or that are packed with ice and debris are a related concern.
From inside the attic, look for daylight coming through the roof deck (any daylight is a problem), wet or darkened insulation, water stains on the decking or rafters, and frost on the underside of the decking in very cold conditions (which indicates that warm, humid air from the living space is reaching the roof assembly, a sign of inadequate air sealing). After a storm with ice dam formation, check the ceilings of upper-floor rooms for fresh water stains or wet drywall.
Safe Snow Removal from Roofs
When snow accumulation is heavy enough to be concerning — generally when accumulation exceeds 12-18 inches of wet snow or 24 inches of lighter snow — removing it reduces structural load and prevents the conditions that cause ice dams. The appropriate tool for this is a roof rake: a long-handled rake-style tool that allows you to pull snow off the roof from ground level without going onto the roof itself.
Roof rakes with plastic or rubber blades are available in lengths that reach 15-20 feet from the ground, sufficient to address roof sections near the eaves where most ice dam formation occurs. You don’t need to remove all snow from the roof — removing the lower 2-3 feet of snow at the eaves where ice dams form is sufficient to interrupt the ice dam formation cycle. Work carefully to avoid pulling shingles with the rake and to protect yourself from the large volumes of snow you’re moving.
Never use sharp metal tools, ice picks, or chippers on a snow-covered or ice-covered roof. These approaches damage shingles, flashing, and gutters while creating significant personal safety risk. Chemical ice melt products can be used carefully on ice dams to create channels for meltwater to drain, but some chemical products can damage roofing materials — use products specifically formulated for roof use rather than sidewalk de-icers.
The Repair Process
Once the storm has passed and conditions are safe enough for professional access, the repair process typically follows a consistent sequence.
First, a qualified roofing contractor performs a thorough inspection to document all damage and identify its source. This documentation is important both for developing an accurate repair scope and for insurance claim purposes. Photographs should be taken before any repairs are made, and the contractor’s written assessment should be preserved.
For minor repairs — replacing a section of lifted or missing shingles, resealing flashing, repairing damaged gutters — experienced roofing contractors can often complete work within a day or two once conditions allow. These spot repairs address the immediate vulnerabilities while the homeowner and contractor assess whether more extensive work is indicated.
When damage is extensive — a large section of roof affected, significant structural damage, widespread shingle loss — a full re-roofing project may be warranted. The decision between comprehensive repair and full re-roofing depends on the roof’s age and overall condition, the extent and pattern of damage, and economic analysis of the costs involved. A roof that is near the end of its expected service life and has sustained significant damage is often best addressed by complete replacement rather than repeated repair.
Navigating the Insurance Claim
Winter storm damage to roofs is typically covered under standard homeowners insurance policies as a windstorm or weather-related peril. Ice dam damage is trickier: the damage caused by the water backed up behind an ice dam is often covered, while the ice dam itself is generally considered a maintenance issue and not a covered peril. The specific language of your policy determines exactly what is and isn’t covered in your situation.
File a claim promptly after discovering damage — most policies require timely notification and have provisions that can reduce coverage if damage is allowed to worsen from failure to address it promptly. Prevent further damage as an interim measure: temporary tarping of damaged roof areas prevents additional water intrusion while awaiting repair. Keep all receipts for emergency protective measures, as these are typically reimbursable under your policy’s claim.
Get multiple contractor estimates for any significant repair or replacement work, and choose contractors licensed in your state with documented experience in residential roofing. The combination of high insurance payouts and storm-damaged properties attracts some less scrupulous contractors — asking for references, checking license status through your state’s contractor licensing board, and requesting proof of insurance are basic due diligence steps that protect you from additional problems during the repair process.
Prevention: The Most Effective Winter Roof Protection
The most effective approach to winter roof damage is preventing conditions that allow it. Ice dam prevention through proper attic insulation and air sealing is the most important preventive measure available. A properly insulated and air-sealed attic that stays close to outdoor temperature prevents the roof deck from warming above freezing and eliminates the conditions that cause snow to melt and refreeze at the eaves.
Heat cable installed in a zigzag pattern along the eaves and in gutters provides an active ice dam prevention option for roofs where attic improvements aren’t feasible or insufficient. Self-regulating heat cable that adjusts its heat output based on temperature conditions is the preferred technology, as it prevents overheating and is energy-efficient.
Regular roof inspections — ideally in fall before winter and in spring after the season’s worst has passed — identify and address vulnerabilities before they become active problems. Shingles at end of life, deteriorated flashing sealant, gutter attachment issues, and inadequate attic insulation are all things that show up in a thorough inspection and that can be addressed proactively at far lower cost than the emergency repairs they would otherwise generate mid-winter.
A well-maintained roof is your home’s first line of defense against everything winter delivers. Investing in regular inspection, prompt repair, and appropriate preventive measures pays returns in reduced repair costs, lower insurance claims, and the genuine comfort of knowing your home is protected through the coldest and most demanding months of the year.