
Last Updated on March 14, 2022
When it comes to the beautification aspect, curtains are one of the most important elements in the entire space of your room. Finding the right curtain rod and utilizing it correctly is equally vital for good curtain placement.
With each passing day, fresh and more stylish hanging curtain rods designs are appearing on the market. Read on to explore how you may utilize them to decorate your rooms.
Some of the best ideas for you to use different kinds of curtain rods:
It makes no difference how many new designs appear on the market. The traditional style of hanging curtain rods, on the other hand, are still in use and are doing extremely good equally. You may choose between single poles and
double parallel bars here.
Rings, finials, and mounting brackets are frequently found to be quite elaborative and the main focal points of this kind of curtain rod design. So, if you want to go for something conventional and elaborative, this is the curtain rod for you. They are typically made of wood or plastic and are simple to use.
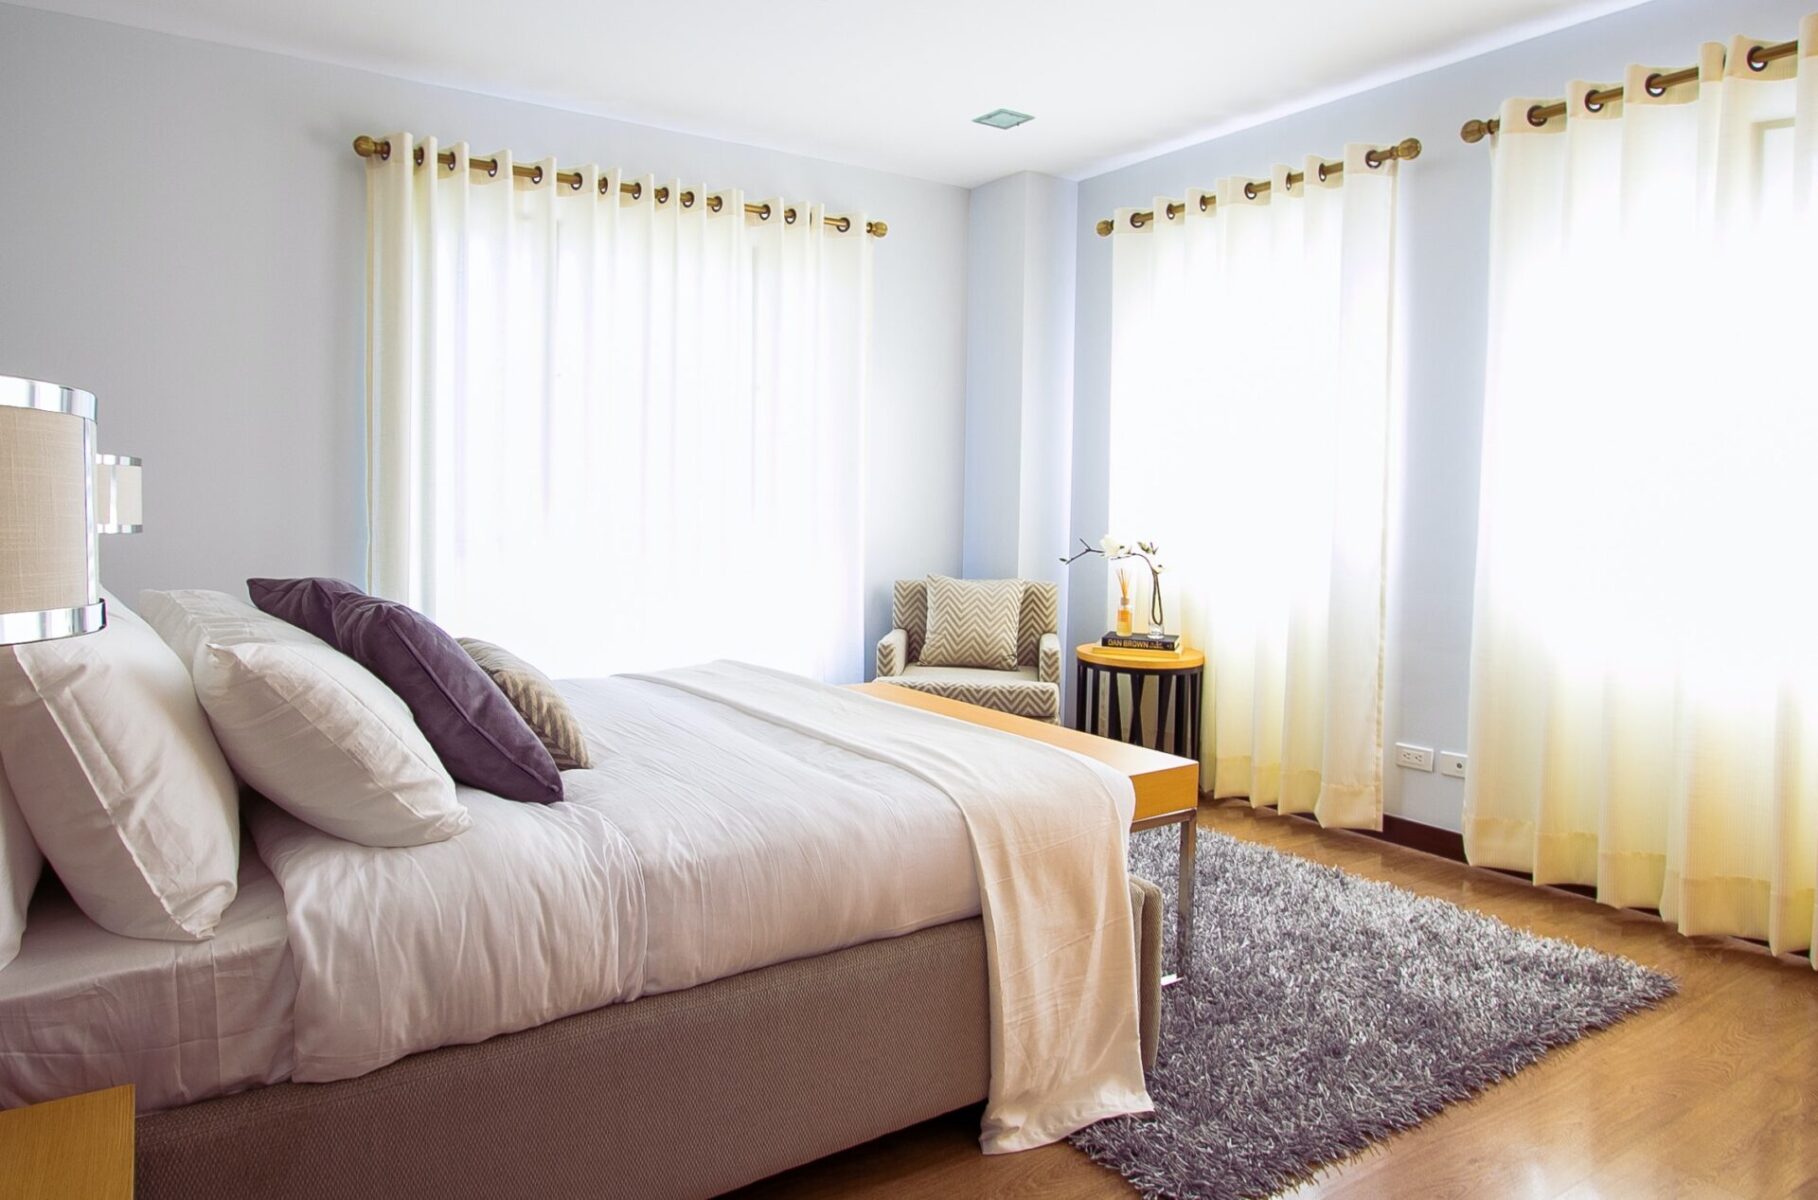
Traverse curtain rods are very popular in the market. If your windows are very huge, go for this type of curtain rod without hesitation. They may be hung on the wall or the ceiling. They are simple to install, fashionable, and closely resemble drapery perforations. They’re also popular for pinch-pleated curtains and transparent fabric drapes. They are distinguished by their metal track and carriers.
If you’re looking for hanging curtain rods for your bathroom, like shower curtains, go for the ones with tension. They are particularly great for this type of usage and may also be utilized on other sections of the house if you want to.
They are sturdy, do not become rusted, and are also quite simple to install.
You must have deduced from the name that they are created with constant tension. They are available in a variety of lengths and sizes, as well as contemporary and minimalist styles. They are the usual curtain rods since they may be installed immediately on the window sill.
People want to maintain all of the furnishings, including the curtain rods and timber material, in certain modern or even translation interior designs. You may certainly do so, and it will provide a really rich appearance to your design. They are made from a variety of woods, including bamboo. Aside from their rustic and earthy aesthetic, they are also more cost-effective and environmentally beneficial.
The continental rod is another popular curtain rod design. They are popularly known amongst the public as the dauphine rods. They have a very popular flat-facing structure and have been used by families for a long time.
If your curtains are made of a heavier fabric and are very bulky, you will need strong support for hanging them. You should go for this option of the curtain rod. It will be reasonable for your regular usage.
Otherwise, it also works nicely with valances that have rod pockets. They can also be bent to accommodate bay windows. They’re also popular because they’re hidden behind the curtains or drapes.
Conclusion
You should have gotten some ideas for the designs of hanging curtain rods from this article by now. So, choose one that complements the rest of the room’s decor and has an awesome overall appearance.